Ultrasonic sensor
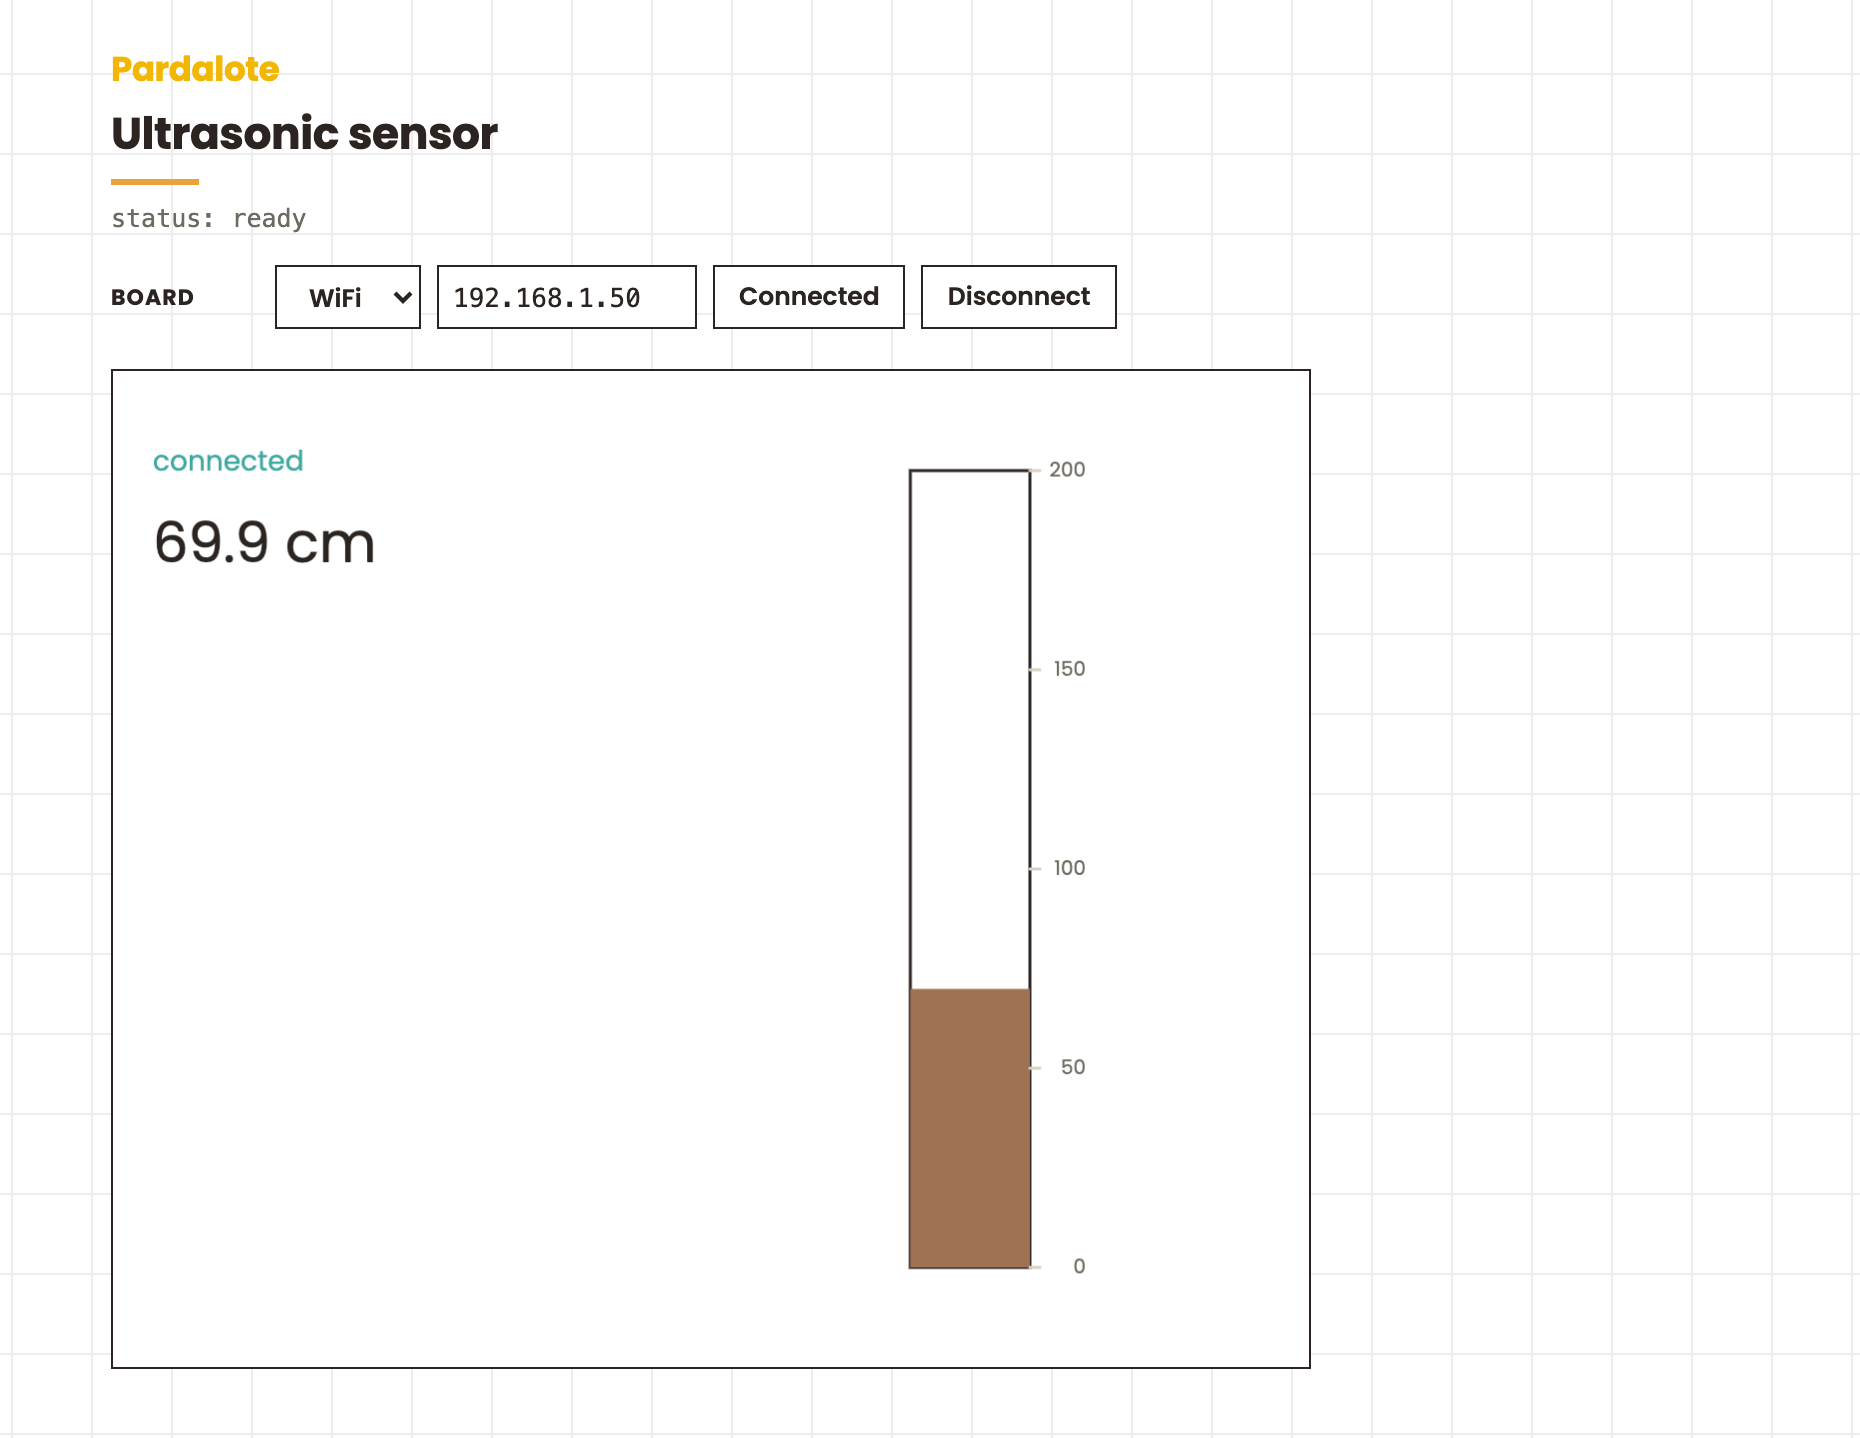
A p5.js sketch that reads an HC-SR04 ultrasonic distance sensor and visualises the result as a colour bar. Distance and connection status are shown on screen in real time.
#include <Pardalote.h>
#include <PardaloteUltrasonic.h>

void setup() {
    Pardalote.begin();
}

void loop() {
    Pardalote.run();
}
const TRIG = 12;
const ECHO = 14;

const W = 600, H = 500;
const maxDistance = 200;   // max distance to display (cm)

// House palette
const INK = '#2B2420', GREY = '#6d6a5f', HAIR = '#d9d2c2',
      TEAL = '#3FA9A0', ORANGE = '#D3542B';

let arduino;

function setup() {
    createCanvas(W, H);
    textFont('Poppins');

    arduino = new Arduino();
    arduino.add('ultrasonicSensor', new Ultrasonic());
    setupConnection(arduino, { store: 'pardalote-ultrasonic' });   // Provides the Pardalote example Web UI for connecting
    // arduino.connect(ArduinoIP);   // Skip the Web UI and connect directly over WiFi
    // arduino.connectSerial();      // or over USB.

    // Attach the sensor once the board is ready. Device state resets on every
    // (re)connect, so 'ready' is the place to (re)configure it.
    arduino.on('ready', () => {
        arduino.ultrasonicSensor.attach(TRIG, ECHO);   // trig pin, echo pin
        arduino.ultrasonicSensor.setTimeout(40);        // ~600 cm ceiling
        arduino.ultrasonicSensor.read(200, CM);         // poll ms, unit CM or INCH
    });
}

function draw() {
    background(255);
    const cm = arduino.connected ? arduino.ultrasonicSensor.read() : 0;
    const distance = constrain(cm, 0, maxDistance);
    drawDistanceBar(distance);
    drawUI(distance);
}

function drawDistanceBar(distance) {
    const barWidth = 60, barHeight = height - 100, barX = 400, barY = 50;

    // Bar track
    noFill();
    stroke(INK); strokeWeight(1.5);
    rect(barX, barY, barWidth, barHeight);

    // Distance indicator — teal far away, orange up close
    if (distance > 0 && distance <= maxDistance) {
        const barFill = map(distance, 0, maxDistance, barHeight, 0);
        const c = lerpColor(color(ORANGE), color(TEAL), distance / maxDistance);
        noStroke(); fill(c);
        rect(barX, barY + barFill, barWidth, barHeight - barFill);
    }

    // Scale markers
    stroke(HAIR); fill(GREY);
    textAlign(RIGHT); textSize(10);
    for (let i = 0; i <= maxDistance; i += 50) {
        const y = map(i, 0, maxDistance, barY + barHeight, barY);
        line(barX + barWidth, y, barX + barWidth + 5, y);
        noStroke();
        text(i, barX + barWidth + 28, y + 3);
        stroke(HAIR);
    }
}

function drawUI(distance) {
    noStroke();
    textAlign(LEFT);
    if (arduino.connected) {
        fill(TEAL); textSize(14);
        text('connected', 20, 50);
        if (distance > 0) {
            fill(INK); textSize(28);
            text(distance.toFixed(1) + ' cm', 20, 96);
        } else {
            fill(GREY); textSize(14);
            text('No object detected or out of range', 20, 90);
        }
    } else {
        fill(ORANGE); textSize(14);
        text('waiting for connection…', 20, 50);
    }
}
What This Example Does
- Polls the ultrasonic sensor every 200 ms
- Draws a vertical bar whose height represents distance (0–200 cm)
- Bar colour shifts from red (close) to green (far) using HSB colour mode
- Shows distance in cm and Arduino connection status
Hardware Requirements
- Arduino UNO R4 WiFi or ESP32 development board
- HC-SR04 ultrasonic sensor (or compatible: JSN-SR04T, HY-SRF05, etc.)
- Arduino and browser must be on the same WiFi network
Wiring (4-wire, HC-SR04)
| Sensor pin | Arduino |
|---|---|
| VCC | 5 V |
| GND | GND |
| TRIG | Pin 7 |
| ECHO | Pin 8 |
Set the trig and echo pins at the top of sketch.js (const TRIG / const ECHO, defaults 12 and 14).
3-wire sensor (trig and echo on the same pin): set both fields to the same pin.
Arduino libraries
Install via Arduino IDE → Tools → Manage Libraries:
WebSocketsServer(by Markus Sattler)
Install Pardalote itself by copying pardalote-arduino/library/Pardalote/ into your Arduino libraries folder (see the top-level README).
Quick Start
1. Upload the firmware
-
In Arduino IDE: File → Examples → Pardalote → ultrasonic-sensor. The sketch is two lines:
Arduino#include <Pardalote.h> #include <PardaloteUltrasonic.h> void setup() { Pardalote.begin(); } void loop() { Pardalote.run(); } -
Select your board and upload
-
Open the Serial Monitor at 115200 baud — on first boot Pardalote asks for your WiFi credentials:
=== Pardalote ===
No WiFi networks stored.
=== WiFi Configuration ===
[a]dd  [d]elete  [c]lear all  [s]how  [x] exit
> a
SSID: YourWiFiName
Password: ********
Saved: YourWiFiName
> x
Credentials are saved to EEPROM and survive re-uploads. Press
win the Serial Monitor at any point while the board is trying to connect to update them.Prefer compile-time credentials? Create a
secrets.hfile in the sketch folder with:Arduino#define SECRET_SSID "YourWiFiName" #define SECRET_PASS "YourWiFiPassword"If both are configured,
secrets.his tried first. -
Find your Arduino's IP address:
- UNO R4 WiFi: scrolls across the LED matrix
- ESP32: printed in the Serial Monitor
2. Open the example and connect
Open index.html in a browser. In the Board row, enter the Arduino's IP
(or switch to USB) and press Connect — your choice is remembered per
browser. The trig/echo pins are set at the top of sketch.js (const TRIG /
const ECHO). Move an object in front of the sensor — the bar should respond.
How It Works
const TRIG = 12, ECHO = 14;   // HC-SR04 trigger / echo pins

arduino = new Arduino();
arduino.add('ultrasonicSensor', new Ultrasonic());   // register the extension
setupConnection(arduino, { store: 'pardalote-ultrasonic' });   // Board row + connection (connect.js)

// Attach + start polling once the board is ready ('ready' re-fires on every reconnect)
arduino.on('ready', () => {
    arduino.ultrasonicSensor.attach(TRIG, ECHO);
    arduino.ultrasonicSensor.setTimeout(40);   // 40 ms echo timeout ≈ 686 cm max range
    arduino.ultrasonicSensor.read(200, CM);    // poll every 200 ms, return cm
});
In draw(), read() returns the latest cached value — no extra network traffic:
let cm = arduino.ultrasonicSensor.read();
A return value of -1 means the echo timed out (nothing in range, or object too far away).
Echo timeout and range
The echo timeout determines maximum detectable range:
| Timeout | Approximate max range |
|---|---|
| 30 ms (default) | ~500 cm |
| 40 ms | ~686 cm |
Increase with setTimeout() for longer range; decrease to speed up failed reads.
Script loading order
Include the pardalote.js bundle (core + every extension) before your sketch:
<script src="../../lib/pardalote.js"></script>
<script src="sketch.js"></script>
Troubleshooting
"Always reads -1"
- Echo timeout too short — try
arduino.ultrasonicSensor.setTimeout(50) - Point the sensor at a flat, hard surface (fabric and foam absorb ultrasound)
- Check wiring: TRIG and ECHO to the correct pins
"Readings jump around"
- Normal for ultrasound — add smoothing in
draw()with a rolling average - Make sure the sensor has a clear line of sight with no nearby reflective surfaces
"Sensor doesn't respond at all"
- Verify the sketch has
#include <PardaloteUltrasonic.h> - Check VCC → 5 V and GND → GND
"Arduino won't connect"
- Check the IP in the Board field and that you pressed Connect
- Arduino and browser must be on the same WiFi network
File Structure
ultrasonic-sensor/
├── index.html      # Canvas page (loads p5.js and the pardalote.js bundle)
├── sketch.js       # Sensor setup and distance visualisation
├── connect.js      # Board connection UI (WiFi / USB, remembered per browser)
└── README.md       # This file

dist/
└── pardalote.js    # Pardalote bundle (core + all extensions)
Next Steps
- Read in inches:
arduino.ultrasonicSensor.read(200, INCH) - Use as a trigger: fire an event when distance crosses a threshold with
onChange() - Up to 4 sensors simultaneously:
arduino.add('front', new Ultrasonic()),arduino.add('side', new Ultrasonic()) - Combine with servos or NeoPixels to build reactive physical installations