NeoPixel
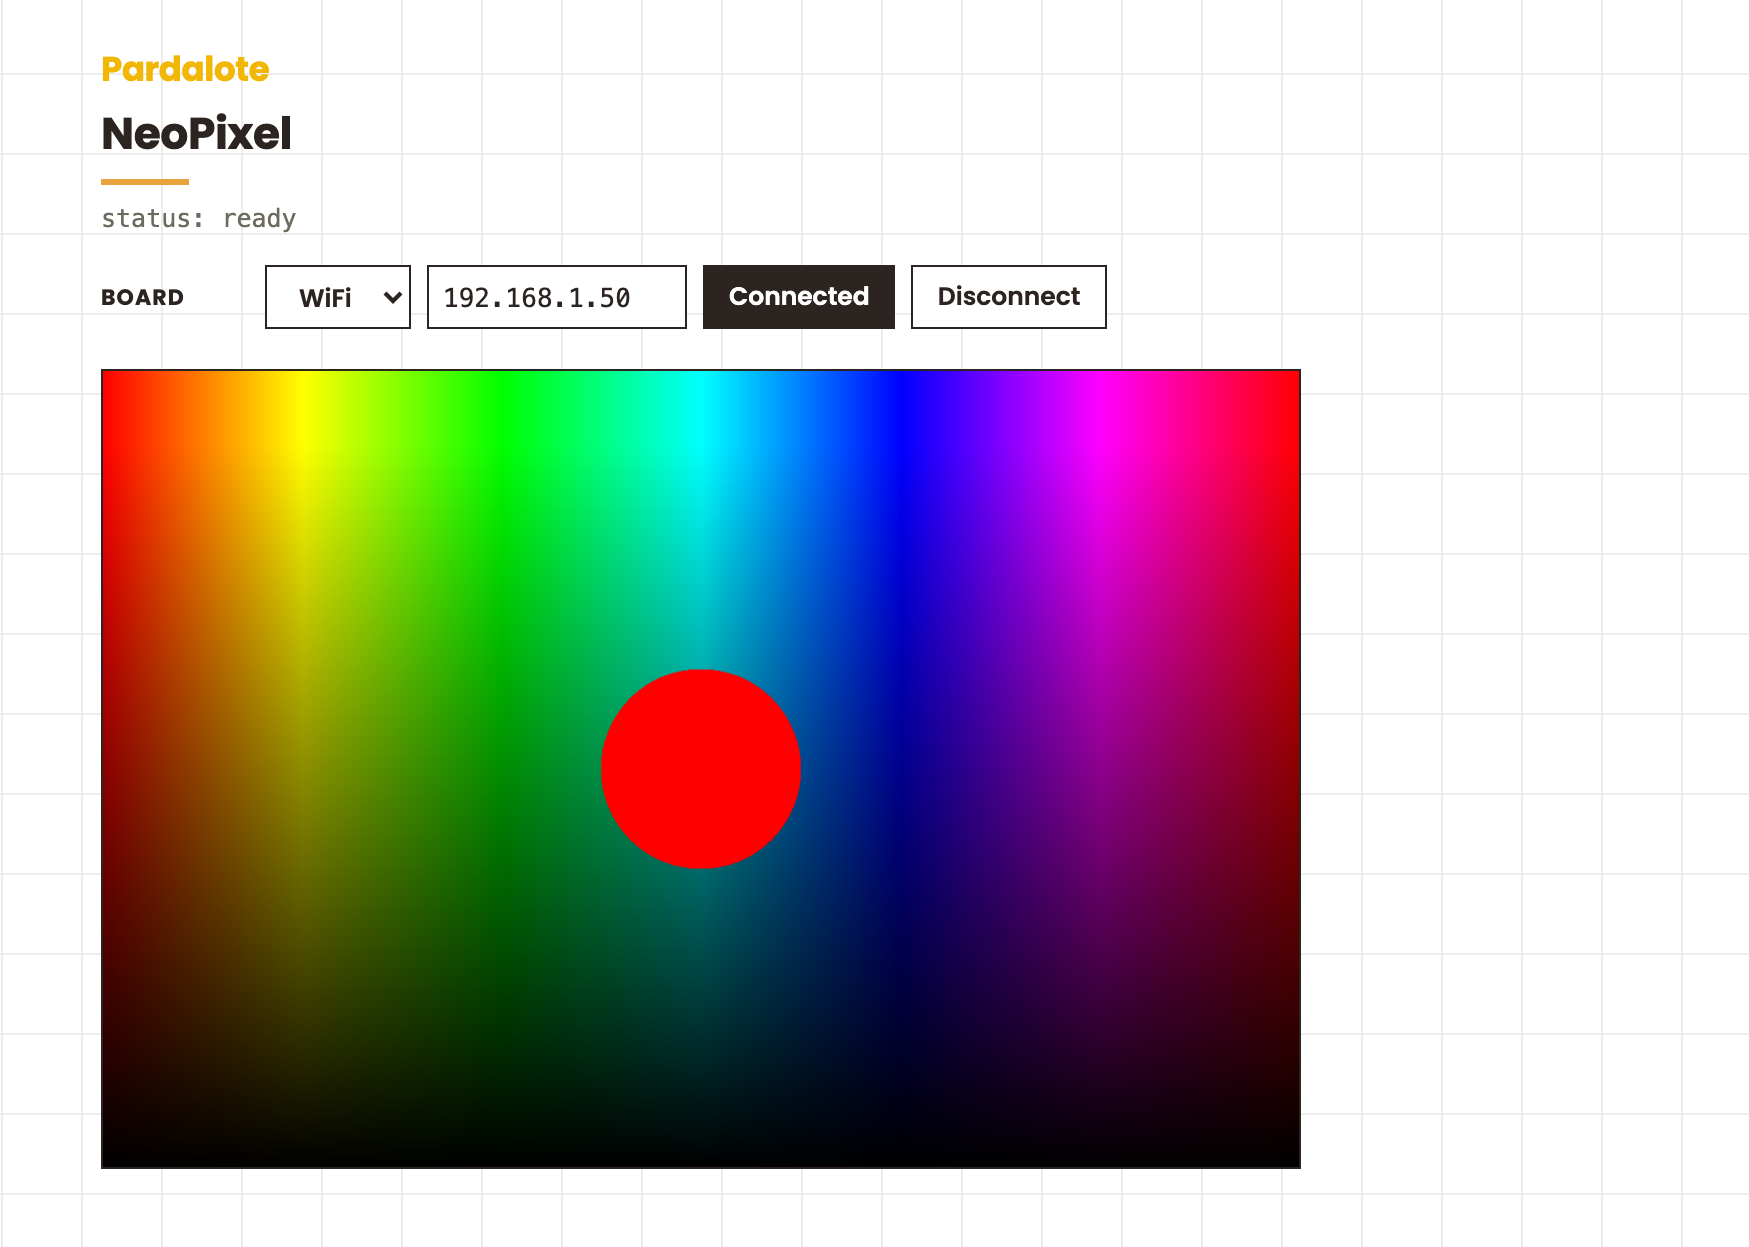
An interactive p5.js colour mixer that drives a NeoPixel LED strip in real time. Move the mouse across the canvas — left/right for hue, up/down for brightness — and the strip follows the colour under the cursor. Hover the centre for white.
#include <Pardalote.h>
#include <PardaloteNeoPixel.h>

void setup() {
    Pardalote.begin();
}

void loop() {
    Pardalote.run();
}
const PIN   = 27;
const COUNT = 8;

const W = 600, H = 400;

let arduino;

function setup() {
    createCanvas(W, H);
    drawColourField();

    arduino = new Arduino();
    arduino.add('strip', new NeoPixel());
    setupConnection(arduino, { store: 'pardalote-neopixel' });   // Provides the Pardalote example Web UI for connecting
    // arduino.connect(ArduinoIP);   // Skip the Web UI and connect directly over WiFi
    // arduino.connectSerial();      // or over USB.

    // Set up the strip once the board is ready. Device state resets on every
    // (re)connect, so 'ready' is the place to (re)initialise it.
    arduino.on('ready', () => {
        arduino.strip.init(PIN, COUNT);   // data pin, number of pixels
        arduino.strip.setBrightness(50);
        arduino.strip.clear();
        arduino.strip.show();
    });
}

// The hue (x) × brightness (y) field — drawn once; draw() only overlays a swatch.
function drawColourField() {
    colorMode(HSB);
    noStroke();
    for (let i = 0; i < width; i++) {
        const newH = map(i, 0, width, 0, 360);
        for (let j = 0; j < height; j++) {
            const newB = map(j, 0, height, 110, 0);
            fill(newH, 255, newB);
            rect(i, j, 1, 1);
        }
    }
    colorMode(RGB);
}

function draw() {
    const circleRadius = 50;
    let neoColor;
    // pick the NeoPixel colour from the mouse location
    if (dist(mouseX, mouseY, width / 2, height / 2) < circleRadius) {
        neoColor = arduino.strip.Color(255, 255, 255);   // white in the centre
        fill(255);
    } else {
        const pixelColor = get(mouseX, mouseY);
        fill(pixelColor);
        neoColor = arduino.strip.Color(red(pixelColor), green(pixelColor), blue(pixelColor));
    }

    // push the colour to the whole strip (show() is rate-limited by the library)
    if (arduino.connected) {
        arduino.strip.fill(neoColor, 0, COUNT);
        arduino.strip.show();
    }

    // preview the colour on a central circle
    noStroke();
    circle(width / 2, height / 2, circleRadius * 2);
}
What This Example Does
- Draws an HSB colour field on a 600×400 p5.js canvas
- Samples the canvas colour under the mouse and sets all 8 LEDs to match — or white when the cursor is over the centre circle
- The circle in the middle previews the colour currently sent to the strip
Hardware Requirements
- Arduino UNO R4 WiFi or ESP32 development board
- NeoPixel LED strip — WS2812B or compatible, 8 LEDs (configurable)
- Arduino and browser must be on the same WiFi network
Wiring
| NeoPixel wire | Arduino |
|---|---|
| VCC (red) | 5 V |
| GND (black) | GND |
| Data (white/yellow) | data pin (const PIN in sketch.js, default 27) |
For strips longer than ~30 LEDs use an external 5 V supply. Connect all grounds (Arduino, strip, supply) together. The data line still goes to the Arduino pin.
Arduino libraries
Install via Arduino IDE → Tools → Manage Libraries:
WebSocketsServer(by Markus Sattler)Adafruit NeoPixel(by Adafruit)
Install Pardalote itself by copying pardalote-arduino/library/Pardalote/ into your Arduino libraries folder (see the top-level README).
Quick Start
1. Upload the firmware
-
In Arduino IDE: File → Examples → Pardalote → neopixel. The sketch is two lines:
Arduino#include <Pardalote.h> #include <PardaloteNeoPixel.h> void setup() { Pardalote.begin(); } void loop() { Pardalote.run(); } -
Select your board and upload
-
Open the Serial Monitor at 115200 baud — on first boot Pardalote asks for your WiFi credentials:
=== Pardalote ===
No WiFi networks stored.
=== WiFi Configuration ===
[a]dd  [d]elete  [c]lear all  [s]how  [x] exit
> a
SSID: YourWiFiName
Password: ********
Saved: YourWiFiName
> x
Credentials are saved to EEPROM and survive re-uploads. Press
win the Serial Monitor at any point while the board is trying to connect to update them.Prefer compile-time credentials? Create a
secrets.hfile in the sketch folder with:Arduino#define SECRET_SSID "YourWiFiName" #define SECRET_PASS "YourWiFiPassword"If both are configured,
secrets.his tried first. -
Find your Arduino's IP address:
- UNO R4 WiFi: scrolls across the LED matrix
- ESP32: printed in the Serial Monitor
2. Open the example and connect
Open index.html in a browser. In the Board row, enter the Arduino's IP
(or switch to USB) and press Connect — your choice is remembered per
browser. The strip's data pin and pixel count are set at the top of sketch.js
(const PIN / const COUNT). Move the mouse across the colour field — the LEDs
follow the colour under the cursor, and the circle in the middle previews it.
Hover the centre for white.
How It Works
const PIN = 27, COUNT = 8;   // strip data pin, number of pixels

arduino = new Arduino();
arduino.add('strip', new NeoPixel());   // register the extension before connecting
setupConnection(arduino, { store: 'pardalote-neopixel' });   // Board row + connection (connect.js)

// configure the strip once the board is ready ('ready' re-fires on every reconnect)
arduino.on('ready', () => {
    arduino.strip.init(PIN, COUNT);
    arduino.strip.setBrightness(50);          // 0–255
    arduino.strip.clear();
    arduino.strip.show();
});
In draw(), the colour under the mouse is sampled from the canvas and sent to the strip (or white when the cursor is over the centre circle):
let pixelColor = get(mouseX, mouseY);
let neoColor = arduino.strip.Color(red(pixelColor), green(pixelColor), blue(pixelColor));
arduino.strip.fill(neoColor, 0, numPixels);
arduino.strip.show();    // must call show() to push changes to the LEDs
Changes are buffered locally until show() is called — this means you can set many pixels in one draw() pass and send them all in a single message.
Script loading order
Include the pardalote.js bundle (core + every extension) before your sketch:
<script src="../../lib/pardalote.js"></script>
<script src="sketch.js"></script>
Troubleshooting
"LEDs don't light up"
- Check VCC → 5 V, GND → GND, data → pin 11
- Verify the sketch has
#include <PardaloteNeoPixel.h> - Try a lower brightness:
arduino.strip.setBrightness(20) - Always call
show()after setting colours
"Wrong colours"
- Most WS2812B strips use
NEO_GRB. Try:JSarduino.strip.init(11, 8, NEO_GRB + NEO_KHZ800); - SK6812 RGBW strips use
NEO_GRBW + NEO_KHZ800
"LEDs flicker"
- Power issue — add an external 5 V supply for strips longer than ~30 LEDs
- Add a 470 Ω resistor between the Arduino data pin and the strip for longer runs
"Performance is slow" or "colours lag behind the cursor" (UNO R4)
- The UNO R4 WiFi WebSocket implementation occasionally drops connections — Pardalote reconnects automatically
- Raise the colour-distance threshold to skip tiny changes:
arduino.strip.setThreshold(10) - Raise the show throttle to cap how often updates are sent:
arduino.strip.setThrottle(50)(default 20 ms = ~50 Hz; 50 ms = ~20 Hz is gentler on slow WiFi)
File Structure
neopixel/
├── index.html      # Canvas page (loads p5.js and the pardalote.js bundle)
├── sketch.js       # NeoPixel colour picker
├── connect.js      # Board connection UI (WiFi / USB, remembered per browser)
└── README.md       # This file

dist/
└── pardalote.js    # Pardalote bundle (core + all extensions)
Next Steps
- Add a second strip:
arduino.add('strip2', new NeoPixel())— up to 4 strips simultaneously - Drive colours from a sensor: combine with
analogRead()or the Ultrasonic extension - Try the
control-panelexample for a multi-device dashboard