Camera stream
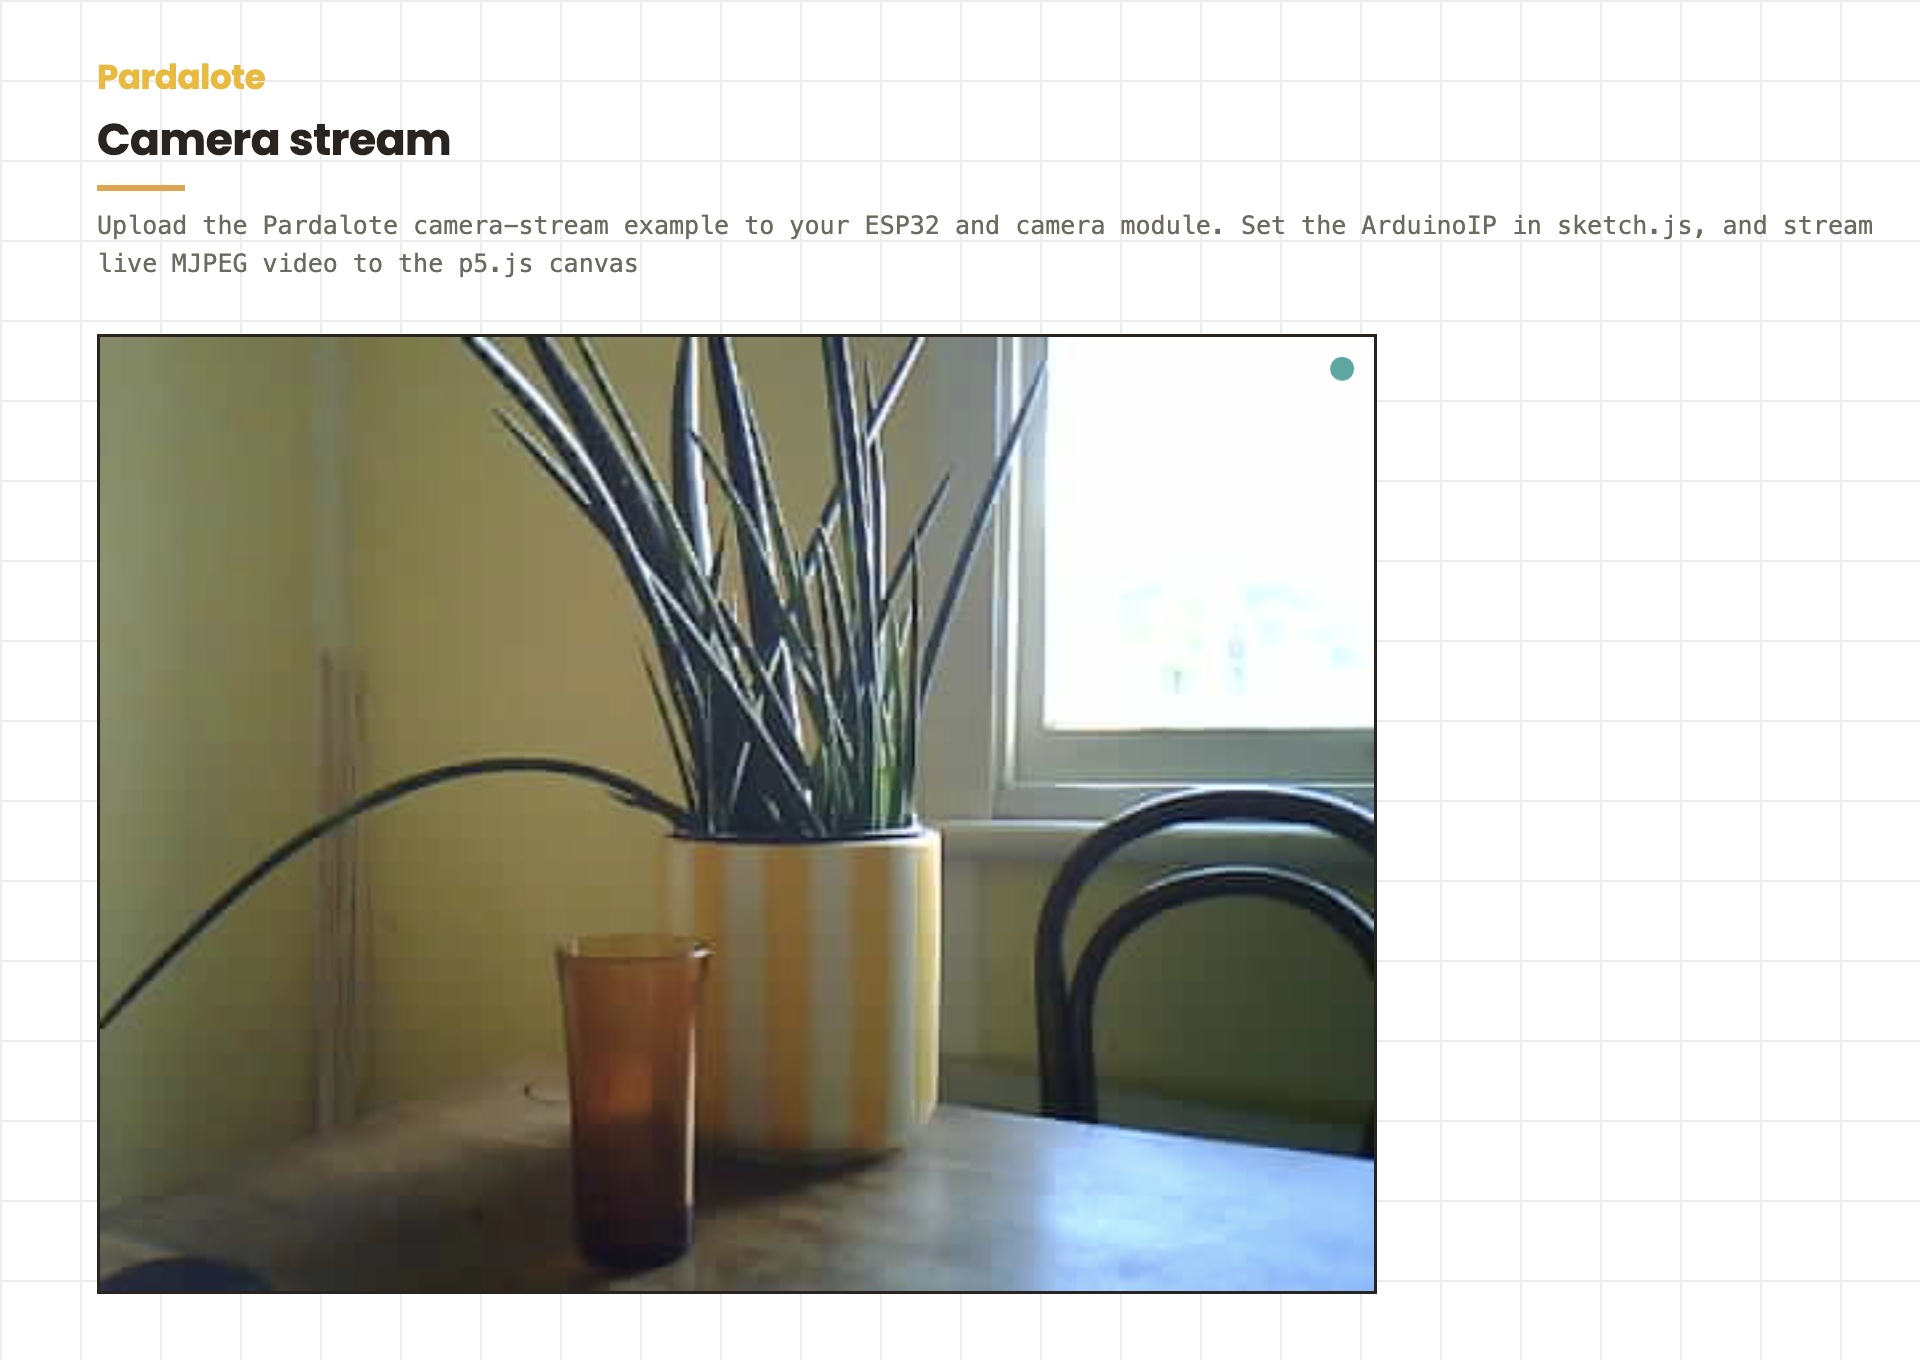
Streams live MJPEG video from an ESP32 camera module into a p5.js canvas over WiFi.
Video is served over a separate HTTP connection — it does not flow through the WebSocket control channel, so camera streaming and Arduino control can run simultaneously without interfering with each other.
#define CAMERA_MODEL_WROVER_KIT
// #define CAMERA_MODEL_ESP_EYE
// #define CAMERA_MODEL_M5STACK_PSRAM
// #define CAMERA_MODEL_M5STACK_V2_PSRAM
// #define CAMERA_MODEL_M5STACK_WIDE
// #define CAMERA_MODEL_M5STACK_ESP32CAM
// #define CAMERA_MODEL_M5STACK_UNITCAM
// #define CAMERA_MODEL_M5STACK_CAMS3_UNIT
// #define CAMERA_MODEL_AI_THINKER
// #define CAMERA_MODEL_TTGO_T_JOURNAL
// #define CAMERA_MODEL_XIAO_ESP32S3
// #define CAMERA_MODEL_ESP32_CAM_BOARD
// #define CAMERA_MODEL_ESP32S3_CAM_LCD
// #define CAMERA_MODEL_ESP32S2_CAM_BOARD
// #define CAMERA_MODEL_ESP32S3_EYE
// #define CAMERA_MODEL_DFRobot_FireBeetle2_ESP32S3
// #define CAMERA_MODEL_DFRobot_Romeo_ESP32S3

#include <Pardalote.h>
#include <PardaloteCamera.h>

void setup() {
    Pardalote.begin();
}

void loop() {
    Pardalote.run();
}
const CAMERA_PORT = 82;

// Camera frame size — bigger is sharper but slower and uses more bandwidth.
// Options: FRAMESIZE_QVGA 320×240 · FRAMESIZE_HVGA 480×320 · FRAMESIZE_VGA 640×480
//          · FRAMESIZE_SVGA 800×600 · FRAMESIZE_HD 1280×720 (needs PSRAM)
const FRAME_SIZE = FRAMESIZE_VGA;   // 640×480 — matches the canvas

let arduino, camEl = null;   // <img> pointed at the MJPEG stream

function setup() {
    createCanvas(640, 480);

    arduino = new Arduino();
    arduino.add('cam', new Camera());
    setupConnection(arduino, { store: 'pardalote-camera-stream' });

    // Start the camera once the board is ready (device state resets on reconnect).
    arduino.on('ready', () => {
        arduino.cam.setResolution(FRAME_SIZE);
        arduino.cam.attach(CAMERA_PORT);
    });

    // The stream URL arrives here — point a hidden <img> at it for image().
    arduino.cam.on('stream', ({ url }) => {
        if (camEl) camEl.remove();
        camEl = createImg(url, '');
        camEl.hide();
    });
    arduino.on('disconnect', () => { if (camEl) { camEl.remove(); camEl = null; } });
}

function draw() {
    background(255);

    if (camEl) {
        try {
            // p5 remembers the image's size from the stream's FIRST frame; keep
            // it current, or a resolution change leaves a band at the bottom.
            camEl.width  = camEl.elt.naturalWidth;
            camEl.height = camEl.elt.naturalHeight;
            image(camEl, 0, 0, width, height);
        } catch (e) {
            // img entered broken state (stream dropped) — clear and show placeholder
            camEl.remove();
            camEl = null;
        }
    } else {
        // Waiting for stream — show a placeholder message (house cream card)
        fill('#F2E9D8'); noStroke();
        rect(0, 0, width, height);
        fill('#6d6a5f');
        textAlign(CENTER, CENTER); textSize(16);
        text(arduino.connected ? 'Starting camera…' : 'Connecting…', width / 2, height / 2);
        textAlign(LEFT, BASELINE);
    }

    // Connection status dot — top-right corner (teal = connected)
    noStroke();
    fill(arduino.connected ? '#3FA9A0' : '#D3542B');
    circle(width - 16, 16, 12);
}
What you need
- An ESP32 board with a camera module and PSRAM (see supported boards below)
- The board flashed with a sketch that
#includes<PardaloteCamera.h>(the bundledcameraexample fits the bill) - A web browser on the same WiFi network
Files
| File | Purpose |
|---|---|
index.html |
Loads p5.js, Pardalote, and the sketch |
sketch.js |
p5.js sketch — connects, streams, draws |
style.css |
Minimal page reset |
Arduino setup
1. Open the library example
In Arduino IDE: File → Examples → Pardalote → camera-stream. The sketch looks like:
// Uncomment ONE:
#define CAMERA_MODEL_WROVER_KIT               // Freenove ESP32-WROVER-DEV
// #define CAMERA_MODEL_AI_THINKER            // AI-Thinker ESP32-CAM
// #define CAMERA_MODEL_XIAO_ESP32S3          // Seeed XIAO ESP32S3 Sense
// #define CAMERA_MODEL_ESP32S3_EYE           // Espressif ESP32-S3-EYE
// #define CAMERA_MODEL_M5STACK_PSRAM         // M5Stack PSRAM
// #define CAMERA_MODEL_M5STACK_WIDE          // M5Stack Wide
// ... (see PardaloteCamera.h for all supported models)

#include <Pardalote.h>
#include <PardaloteCamera.h>

void setup() { Pardalote.begin(); }
void loop()  { Pardalote.run();   }
Pick the CAMERA_MODEL_* define that matches your hardware before the include.
2. Upload
Flash the sketch to your board. Once connected to WiFi, the IP address is printed in the Serial Monitor (115200 baud).
Browser setup
1. Connect on the page
Open index.html, then in the Board row enter the Arduino's IP (or switch
to USB) and press Connect — no code editing needed, and the setting is
remembered per browser. The camera's stream port is fixed by the firmware
(82), so there's nothing else to set.
2. Open the example
Serve the folder from a local web server and open index.html in a browser. You can use any static server — for example:
npx serve .
If you are using a code editor you can run the web server there.
Why a server? Browsers block WebSocket connections from
file://pages on some platforms. A local server avoids this.
How it works
Arduino                          Browser
────────────────────────────────────────────────────────
WebSocket :81  ←──── control ────→  pardalote.js (Camera extension)
HTTP      :82  ──── MJPEG stream ──→  <img src="http://ip:82/stream">
arduino.connect()opens a WebSocket on port 81.- On
ready,arduino.cam.attach(CAMERA_PORT)sends aCMD_CAMERA_INITframe to the Arduino over the WebSocket. The Arduino initialises the camera hardware and starts an HTTP server on the requested port. - The Arduino echoes the confirmed port back. The Camera extension sets an
<img>element'ssrctohttp://<ip>:<port>/streamand emits thestreamevent. - The browser fetches the MJPEG stream directly over HTTP — the WebSocket is only used for the initial handshake and any subsequent control commands (resolution, quality).
- In
draw(),image(camEl, 0, 0, width, height)renders the current frame to the p5.js canvas. Just before it, the sketch copies the frame's real size intocamEl.width/camEl.height: p5 records an image's size only when its first frame loads, so without this a resolution change leaves a black band at the bottom.
Adjusting the stream
// Resolution — call before or after attach()
arduino.cam.setResolution(FRAMESIZE_QVGA);   // 320×240  ← default
arduino.cam.setResolution(FRAMESIZE_VGA);    // 640×480
arduino.cam.setResolution(FRAMESIZE_HD);     // 1280×720

// JPEG quality: 0 = best image / highest bandwidth
//              63 = worst image / lowest bandwidth
arduino.cam.setQuality(12);  // default
| Constant | Resolution |
|---|---|
FRAMESIZE_QQVGA |
160×120 |
FRAMESIZE_QVGA |
320×240 |
FRAMESIZE_HVGA |
480×320 |
FRAMESIZE_VGA |
640×480 |
FRAMESIZE_SVGA |
800×600 |
FRAMESIZE_HD |
1280×720 |
Higher resolutions require more bandwidth and may reduce frame rate. QVGA is a good starting point for most WiFi environments. Anything above QQVGA also needs PSRAM enabled, and the largest sizes don't work on every sensor — see Troubleshooting below.
Snapshots
Capture a single JPEG still without interrupting the stream:
const url = await arduino.cam.snapshot();
// url is a blob: URL — use as an <img> src or save it
// revoke when done to free memory:
URL.revokeObjectURL(url);
The snapshot is served from http://<ip>:<port+1>/snapshot — its own small web server on the next port (83 for this example), so it answers even while the stream is running.
Pixel manipulation
Because the camera HTTP server sends Access-Control-Allow-Origin: *, p5.js can read pixel data from the stream:
arduino.cam.on('stream', ({ url }) => {
    camEl = createImg(url, '');
    camEl.hide();
});

function draw() {
    if (camEl) {
        camEl.width  = camEl.elt.naturalWidth;   // keep p5's idea of the size current
        camEl.height = camEl.elt.naturalHeight;
        image(camEl, 0, 0, width, height);
        loadPixels();
        // pixels[] is now available — RGBA values for every canvas pixel
        for (let i = 0; i < pixels.length; i += 4) {
            pixels[i] = 255 - pixels[i];     // invert red
            pixels[i+1] = 255 - pixels[i+1]; // invert green
            pixels[i+2] = 255 - pixels[i+2]; // invert blue
        }
        updatePixels();
    }
}
Note: loadPixels() on every frame is CPU-intensive. For heavy processing, consider drawing to an off-screen createGraphics() buffer and only calling loadPixels() on that.
Troubleshooting
Stream doesn't appear
- Check that the IP in the Board field is correct and you pressed Connect
- Open
http://<ip>:<port>/streamdirectly in a browser tab — if you see video there, the Arduino is working and the issue is in the JS - Check the browser console for errors
"Camera Init failed: 0x106 (ESP_ERR_NOT_SUPPORTED)"
- Wrong board define — the camera sensor PID didn't match. Select the correct
CAMERA_MODEL_*for your hardware and re-flash.
Low frame rate
- Reduce resolution with
setResolution(FRAMESIZE_QVGA)or increase quality number (lower quality) withsetQuality(20) - Move the Arduino closer to the WiFi access point
- Disable WiFi modem sleep — Pardalote does this automatically with
WiFi.setSleep(false)
Image is stuck at 160×120 (QQVGA) and setResolution() won't change it
- Anything above QQVGA needs the board's PSRAM enabled and working. Without it the camera falls back to a single QQVGA (160×120) frame buffer in internal RAM, and any
setResolution()to a larger size is refused — you'll see[Camera] No PSRAM — using DRAM, forced to QQVGAin the Serial Monitor. Fix PSRAM and the higher resolutions come back. - Seeed XIAO ESP32S3: it has 8 MB of octal PSRAM, but you must select it — Tools → PSRAM →
OPI PSRAM(not "QSPI PSRAM", not "Disabled"). Re-flash; the "No PSRAM" line should be gone. - ESP32 WROVER: PSRAM is enabled automatically by the "ESP32 Wrover Module" board, so there's no PSRAM menu to set. If the Serial Monitor shows
esp_psram: SPI SRAM memory test fail … writes failed, PSRAM is enabled but the module's chip is failing its power-on test — usually marginal power or a faulty module. Try a full power-cycle with a different USB cable/port, drop Tools → Flash Frequency → 40 MHz, and if it persists use a different WROVER (that PSRAM chip is likely bad).
FRAMESIZE_HD stutters or drops the stream (cam_hal: FB-OVF / net::ERR_INCOMPLETE_CHUNKED_ENCODING)
FB-OVFmeans a frame was bigger than the buffer the camera driver set aside for it, so it was dropped (the browser console showsnet::ERR_INCOMPLETE_CHUNKED_ENCODING). Older Pardalote versions left too little room for HD frames. Update the Pardalote Arduino library: it now reserves room for frames up to 1600×1200 on boards with PSRAM, and HD streams on the XIAO ESP32S3. If it still happens, check PSRAM is enabled (above), then step down a size (e.g.FRAMESIZE_SVGA, 800×600).
XIAO ESP32S3 won't connect to WiFi
- The Sense board has a u.FL connector for an external antenna. If the antenna switch is set to external and nothing is plugged in, the radio has no antenna and cannot connect. Either attach an external antenna or move the antenna switch to the internal position.
Canvas size doesn't match stream
- The canvas size and stream resolution are independent.
image(camEl, 0, 0, width, height)scales the stream to fill the canvas. AdjustcreateCanvas()dimensions to match your desired aspect ratio.
Black band at the bottom after changing resolution
- p5's
createImg()records the image's size once, from the stream's first frame. When a new resolution arrives with a different shape,image()still uses the old size and the picture no longer fills the canvas. Copy the real size in before drawing:camEl.width = camEl.elt.naturalWidth; camEl.height = camEl.elt.naturalHeight;(the example does this).
Only one browser can receive the stream at a time
- This is a fundamental limitation of the ESP32 camera driver. The camera's
esp_camera_fb_get()function is single-consumer by design — only one HTTP client can receive MJPEG frames at a time. A second browser connecting will see a black screen and will only get the feed once the first disconnects. This behaviour is identical to Espressif's own CameraWebServer example. Multi-client streaming requires a dedicated FreeRTOS task that owns the camera, copies each frame to a shared PSRAM buffer, and fans it out to all connected clients — this is not currently implemented in Pardalote.