Basic light switch
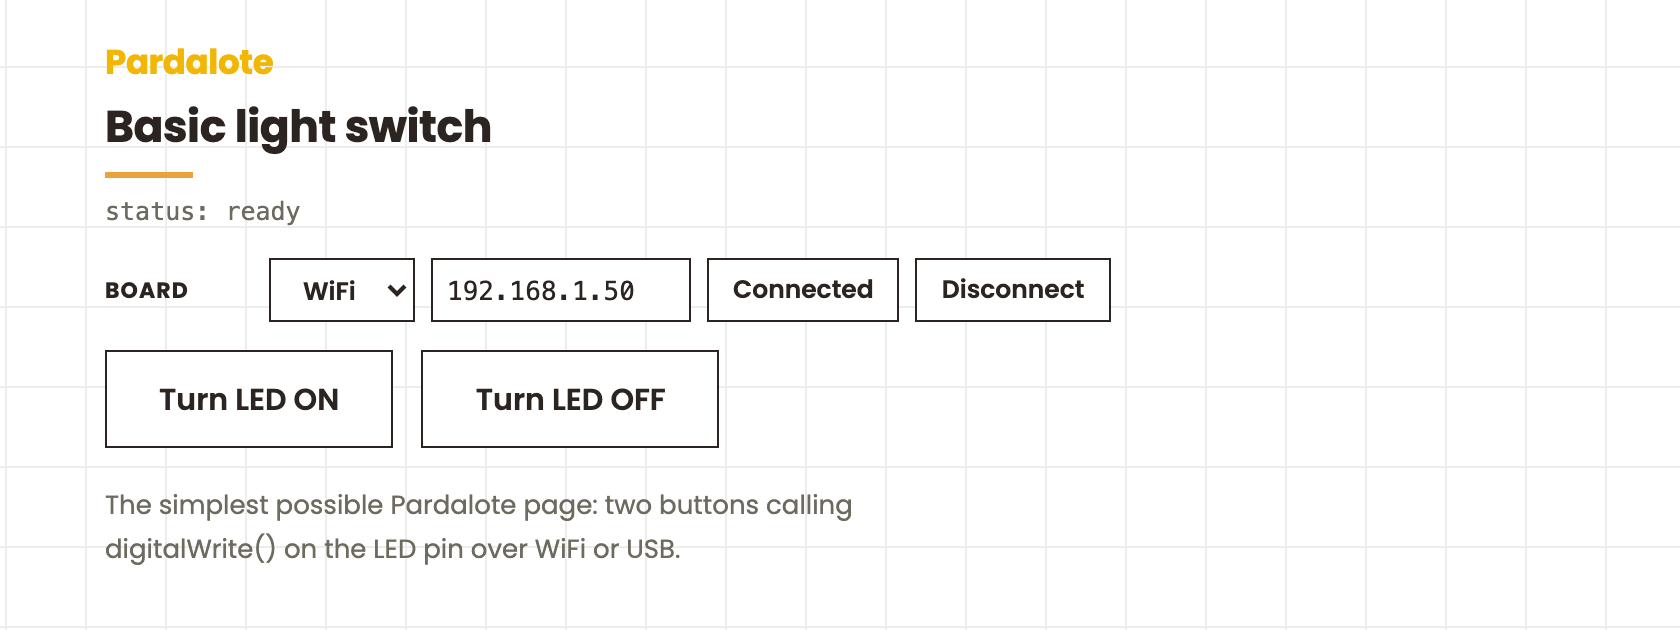
The simplest possible Pardalote sketch. A web page with two buttons that turn the Arduino's built-in LED on and off over WiFi — no p5.js, no framework.
#include <Pardalote.h>

void setup() {
    Pardalote.begin();
    // Connect on either USB or WiFi. Moving from USB to WiFi requires a board reset.
}

void loop() {
    Pardalote.run();
}
const LED = 13;   // the LED pin (13 is the board's built-in LED)

const arduino = new Arduino();
setupConnection(arduino, { store: 'pardalote-basic-light-switch' });

// Configure the pin whenever the board is ready (it forgets pins on reset).
arduino.on('ready', () => arduino.pinMode(LED, OUTPUT));

// Browser → Arduino: the buttons send a digitalWrite.
document.getElementById('led-on').onclick  = () => arduino.digitalWrite(LED, HIGH);
document.getElementById('led-off').onclick = () => arduino.digitalWrite(LED, LOW);
What This Example Does
- Turn LED ON — sends
digitalWrite(13, HIGH)to the Arduino - Turn LED OFF — sends
digitalWrite(13, LOW)to the Arduino
Hardware Requirements
- Arduino UNO R4 WiFi or ESP32 development board
- Arduino and browser must be on the same WiFi network
- UNO R4 WiFi: the built-in LED on pin 13 is all you need
- ESP32: connect an LED + 220 Ω resistor between pin 13 and GND (long leg to pin 13)
Quick Start
1. Upload the firmware
-
In Arduino IDE: File → Examples → Pardalote → minimal-pardalote
-
Select your board and upload
-
Open the Serial Monitor at 115200 baud — on first boot Pardalote asks for your WiFi credentials:
=== Pardalote ===
No WiFi networks stored.
=== WiFi Configuration ===
[a]dd  [d]elete  [c]lear all  [s]how  [x] exit
> a
SSID: YourWiFiName
Password: ********
Saved: YourWiFiName
> x
Credentials are saved to EEPROM and survive re-uploads. Press
win the Serial Monitor at any point while the board is trying to connect to update them.Prefer compile-time credentials? Uncomment the two lines in
secrets.h:Arduino#define SECRET_SSID "YourWiFiName" #define SECRET_PASS "YourWiFiPassword"If both are configured,
secrets.his tried first. -
Find your Arduino's IP address:
- UNO R4 WiFi: scrolls across the LED matrix
- ESP32: printed in the Serial Monitor
2. Open the example and connect
Open index.html in a browser. In the Board row, enter the Arduino's IP
(or switch to USB) and press Connect — the button turns green when it's
up, and your choice is remembered per browser (a return visit reconnects with
one click). The LED pin is set at the top of sketch.js (const LED, 13 = the
built-in LED). Click Turn LED ON and Turn LED OFF.
How It Works
const LED = 13;   // 13 is the board's built-in LED

const arduino = new Arduino();
setupConnection(arduino, { store: 'pardalote-basic-light-switch' });   // Board row + connection (connect.js)

arduino.on('ready', () => arduino.pinMode(LED, OUTPUT));  // set up the pin once connected

// Button handlers
arduino.digitalWrite(LED, HIGH);  // ON
arduino.digitalWrite(LED, LOW);   // OFF
pinMode is called inside the ready handler — this ensures the WebSocket is open before the frame is sent. Calls made before ready would be silently dropped.
Reconnection is automatic. If the Arduino resets or the connection drops, Pardalote reconnects and restores the pin configuration.
Troubleshooting
"Buttons don't work"
- Check the IP in the Board field matches the Arduino's IP, and that you pressed Connect
- Arduino and browser must be on the same WiFi network
- Open the browser console (F12) for connection messages
"IP shows as 0.0.0.0" (UNO R4)
- WiFi connection failed — check credentials via Serial Monitor (press
won boot)
"LED doesn't light up" (ESP32)
- Check wiring: long leg of LED to pin 13, short leg through 220 Ω resistor to GND
File Structure
basic-light-switch/
├── index.html      # Two-button web interface
├── sketch.js       # Arduino connection and button handlers
├── connect.js      # Board connection UI (WiFi / USB, remembered per browser)
└── README.md       # This file

dist/
└── pardalote.js    # Pardalote bundle (core + all extensions)
Next Steps
- Read a sensor: try the
potentiometer-p5js - Control a servo: try the
servo-control - Control LED strips: try the
neopixel